Free Hosting for ITE337 Student at STIU 2/2020 (sponsored by MinetHost)
 Before We Start
Hey there 
I understand that it might be annoying to install XAMPP and run localhost when port or service are crashing with other program on your computer. Therefore, I have been discussing with my lovely friend at MinetHost (https://minethost.com/) to sponsor a free hosting space for your project.
Hence I would like to thank 
They have provided one hosting machine with a physical firewall that capable for 100 websites. Therefore everyone will get a following hosting plan for free until week 14 of the term 2/2020. And if you would like to continue after that you can contact them directly for paid hosting service and I will be migrate you project for free of charge.
Hosting Package:
- Storage – 1,000 MB / Monthly Data Transfer – 40,000 MB
- Domain – 3 / Subdomain – 10
- Email Account – 10 / FTP Account 1
- MySQL Database – 5
- DirectAdmin CP / Apache 2.4.46 / PHP 7.4.12 / MySQL 5.7.31
P.S. For the purpose of learning. I will not install any automatic wordpress installer service.
You can contact me directly via Line if you have any question or need any assistance following this page.

Get Ready 
Here is the list of what you need in order to complete this guide
- Freenom Account (for free domain) [https://www.freenom.com/](https://www.freenom.com/)
- FTPClient (recommend filezilla [https://filezilla-project.org/download.php?type=client](https://filezilla-project.org/download.php?type=client))
- Working Email
- Stamford Student ID (to verify that you are taking ITE337 in Term 2/2020)
Get Free Domain from Freenom.com and set the name server to MinetHost Service 
Step 1 – Go to https://www.freenom.com

Step 2 - Enter the domain name that you want and click on Check Availability

Step 3 - Click “Get it now!” on free and available domain then proceed to checkout


Step 5 - Put your email account or use social sign in as your choice

Step 6 - Go to your email and click on verify link then enter your detail and complete your order

Done!!  Now you have domain name pointing to MinetHost hosting service!
PS. The new domain name may not work directly due to dns update time. Please wait around 24–48 hours if it not work.
 Register for Hosting Service
This form is supervise by me only. Therefore, the process maybe slow but I will at least check the answer one a day. However, you can increase the process speed by notify me in Line
👩🏻💻 Install WordPress on Hosting via FTP 👨🏻💻
Step 1 – Check for Confirmation Email (Be sure to check your Junk/Spam Folder) if not then contact me on Line

Step 2 – Click the login link in the email to enter Control Panel Login page

Step 3 – Check if you can login into DirectAdmin Control Panel (Change your password is strongly advised)

Step 4 – Open Filezilla or your prefered FTP Client (you can download Filezilla at https://filezilla-project.org/download.php?type=client)
Enter the following information in each field accordingly.
- Host: ftp.{domain name}
- Username: {your username}
- Password: {Your password}

Click “OK” when prompt with Unknown certificate window

Step 5 – On “Remote site:” go to these folders.
domains → {your domain name} → public_html

Step 6 – Drag you “WordPress” Folder into remote location on the right (if you do not have WordPress then you can download at https://wordpress.org/download/ and unzip it) This may take a while please wait until “Queued Files” reach 0 and no “Failed Transfer”

Step 7 – Go back to your control panel and “Account Management” → “MySQL Management” then click on “Create New Database”

Step 8 – Enter the name of your database and password then click “Create Database” (take note of these information)

Step 9 – go to {your domain}/wordpress in your browser.

Step 10 – Follow the setup wizard until you reach database setup page then enter your database information (Do not forget {username}_ at the front) click “Submit” and if everything correct you will be able to see “Run the Installation” button. So click it to install WordPress

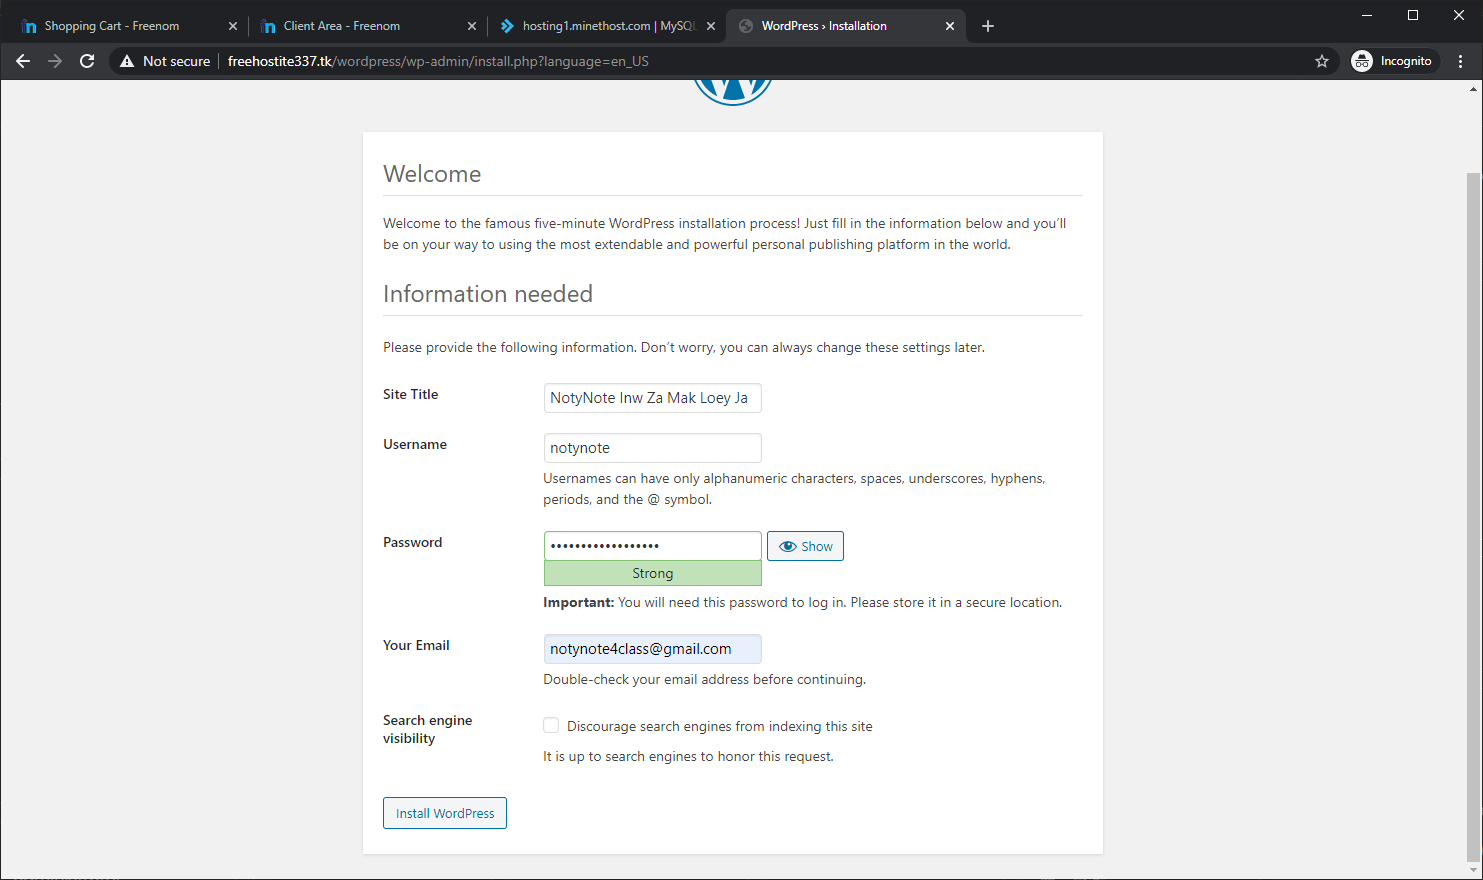
Step 11 – Enter your site information (Take note of your username and password). Be sure to use strong password to delay brute force hacking since this will be online.
Read more about Strong Password – https://passwords-generator.org/

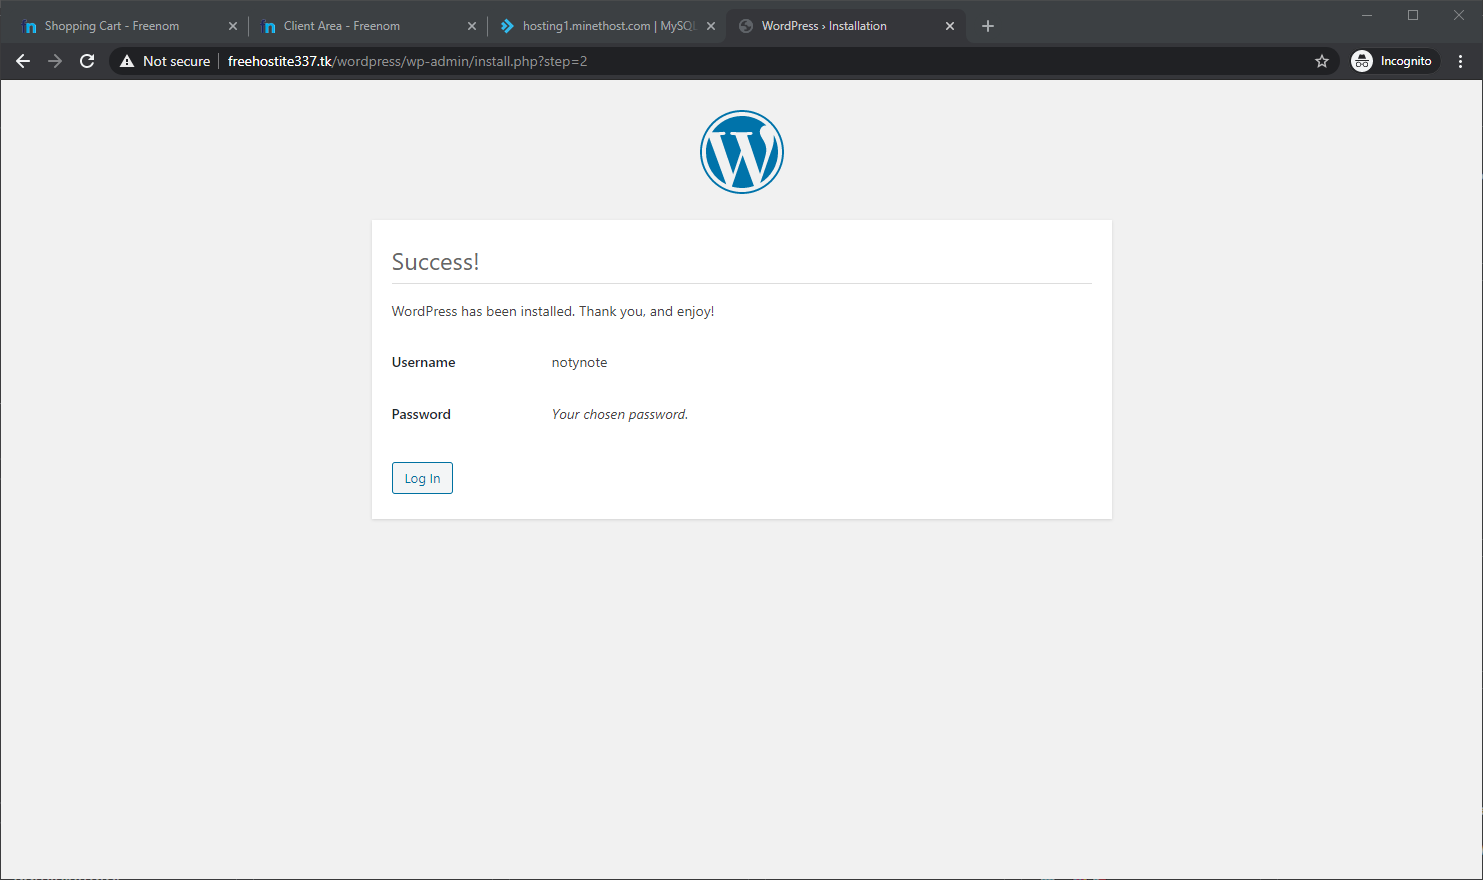
Step 12 – Click “Install WordPress” and wait until you see this page (Do not press back or refresh your page this may take long)

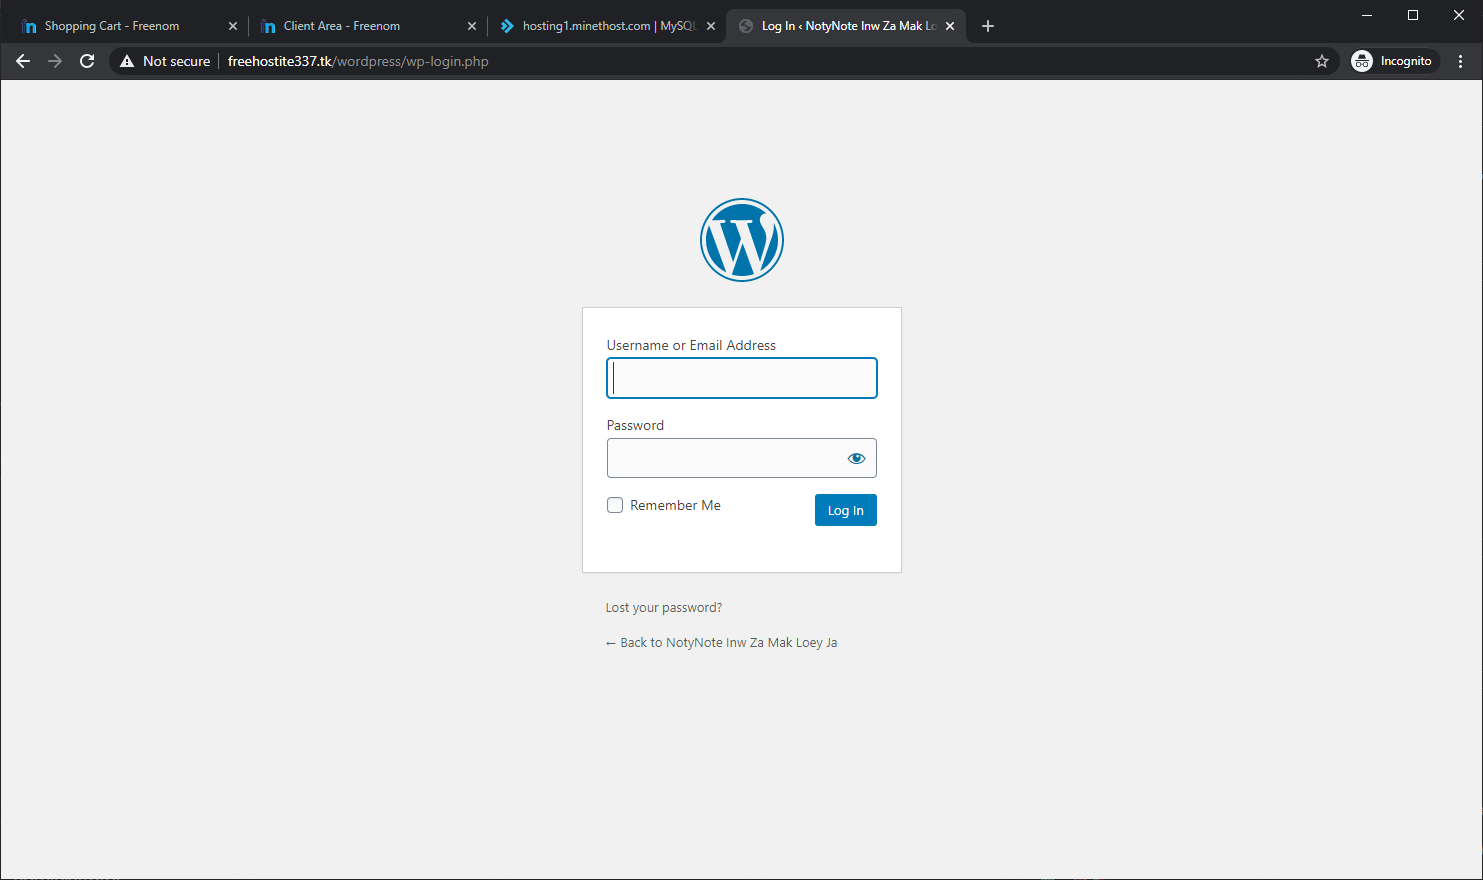
Step 13 – You can use “{your domain}/wordpress/wp-login.php” to login to WordPress admin panel and start working on your magic  ! Remember you can access your frontend at “{your domain}/wordpress”


 Now you have domain name pointing to MinetHost hosting service!

 ! Remember you can access your frontend at “{your domain}/wordpress”

